Bathroom remodel planner: measure, move fixtures, price the tile
Draw your bathroom as it is now, then try the new layout in a copy: swap the tub for a walk-in shower, move the vanity, change the door. FloorGen keeps both versions side by side and works out the floor tile and wall paint for each.
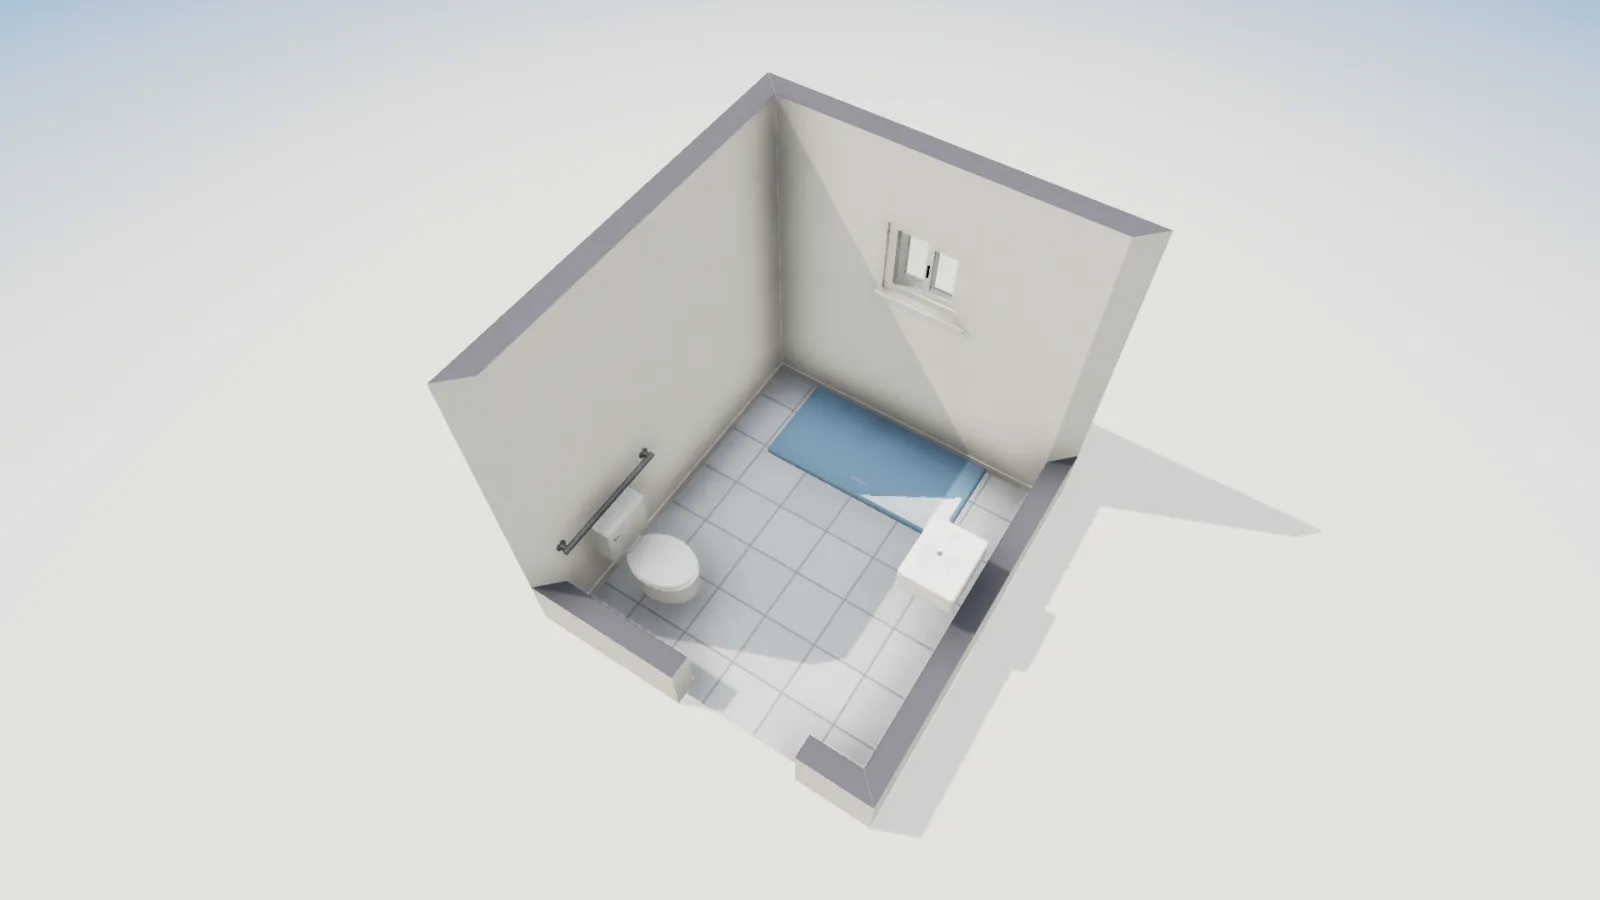
- Before and after
- Up to 20 designs per floor
- Shower models
- Bases, stalls, curbless
- Quantities
- Floor tile and wall paint
- Price
- Free, no sign-up
A bathroom remodel starts from a room that already exists, with its drains, its window and its door where they are. The plan worth drawing first is that room, measured carefully; the new layout is a copy you change. For laying out a bathroom from scratch, the bathroom planner covers the fixtures and the code clearances.
How to plan a bathroom remodel in FloorGen
- Measure and draw the room as it is. Take the measurements in the table below, then press R and drag the room, typing the lengths. Set Measure to (account menu, Project details) to Inside so the walls read the clear size you measured. Set the Room type to Bathroom: it gives the room a tile floor and turns on the ceiling-height check.
- Put back what is there. Add the door (D) and the window (N) at their real positions and sill height. Press L and place the toilet, vanity and tub or shower at their current spots; select each to type its exact width and depth.
- Keep the before, change a copy. In the Floors panel (Alt+9), rename the design "Before" with Rename design…, then click Duplicate as a new design and name the copy "After". Everything on the plan belongs to the design, so moving a fixture in "After" leaves "Before" as it was.
- Move the fixtures. Drag the tub out and a shower in, slide the vanity along the wall, or swap the hinged door for a pocket door under Door & window. Select a door and press F to flip its hinge or Shift+F its swing. Measure the gaps with the tape (M), and open Review (Shift+I) for a door that swings into a fixture.
- Compare and price. Switch between "Before" and "After" in the design menu in the top bar. Schedules and budget (in the account menu) follows the design on show, with the floor tile area and the wall paint, room by room. Press 3 to stand in the new room in Walk mode.
What to measure in the existing bathroom
| Measure | From and to | Why it matters |
|---|---|---|
| Room, wall to wall | Finished wall face to face, each wall, near the floor | Old walls are rarely square; two diagonals tell you how far off they are |
| Toilet rough-in | Finished wall behind the toilet to the centre of the drain (the bolts are a good guide) | 12 in is standard, 10 and 14 in exist; a new toilet must match it unless the drain moves |
| Toilet to the side | Toilet centreline to the nearest wall or fixture | Under the IRC at least 15 in each side, and 21 in clear in front |
| Tub or shower | Length and width of the tub or base, and which end the drain is at | A new 60 in tub or a 60 × 32 in shower base drops into the same alcove |
| Vanity | Width, depth, and where the drain and supply lines come out of the wall | A wider vanity is easy if the drain stays put |
| Door | Opening width, hinge side and swing | A door swinging into the room takes floor the fixtures need |
| Window | Width, height, and sill height above the floor | It decides where a shower or a tall cabinet can go |
| Ceiling | Floor to ceiling | Under the IRC a bathroom may be as low as 6 ft 8 in; with the IRC profile, Review flags a lower ceiling |
Toilet rough-in dimensions explains how to measure the rough-in, and bathroom layout dimensions has the full clearance table with its code sections.
Moving fixtures and the plumbing wall
The drains set what a remodel costs as much as the fixtures do. A toilet, vanity or shower that stays on the wall where its drain already is needs new fixtures and finishes; one that moves to another wall needs its drain and vent moved too, which usually means opening the floor. Draw both options and the trade-off is easy to see.
- Tub to shower in the same alcove. Usually the simplest big change: a 60 × 32 in shower base or a 60 × 30 in roll-in shower from the library takes the footprint of a 60 in alcove tub. A 60 × 42 in curbless walk-in shower needs about 10 in more depth.
- Toilet and vanity on one wall. Keeping them side by side on the same wall, as in the 5 × 8 ft template below, keeps the drains short and leaves the opposite wall clear.
- Mark the wet wall. FloorGen does not draw pipes, so add a text note (T) on the wall that holds the drains. When you move a fixture off that wall in "After", the note shows what the plumber will have to change.
- Wall-hung fixtures. The library has a wall-hung toilet with an in-wall tank and wall-hung basins and vanities; they usually need a deeper wall or a carrier frame behind them, so draw that wall at its real thickness.
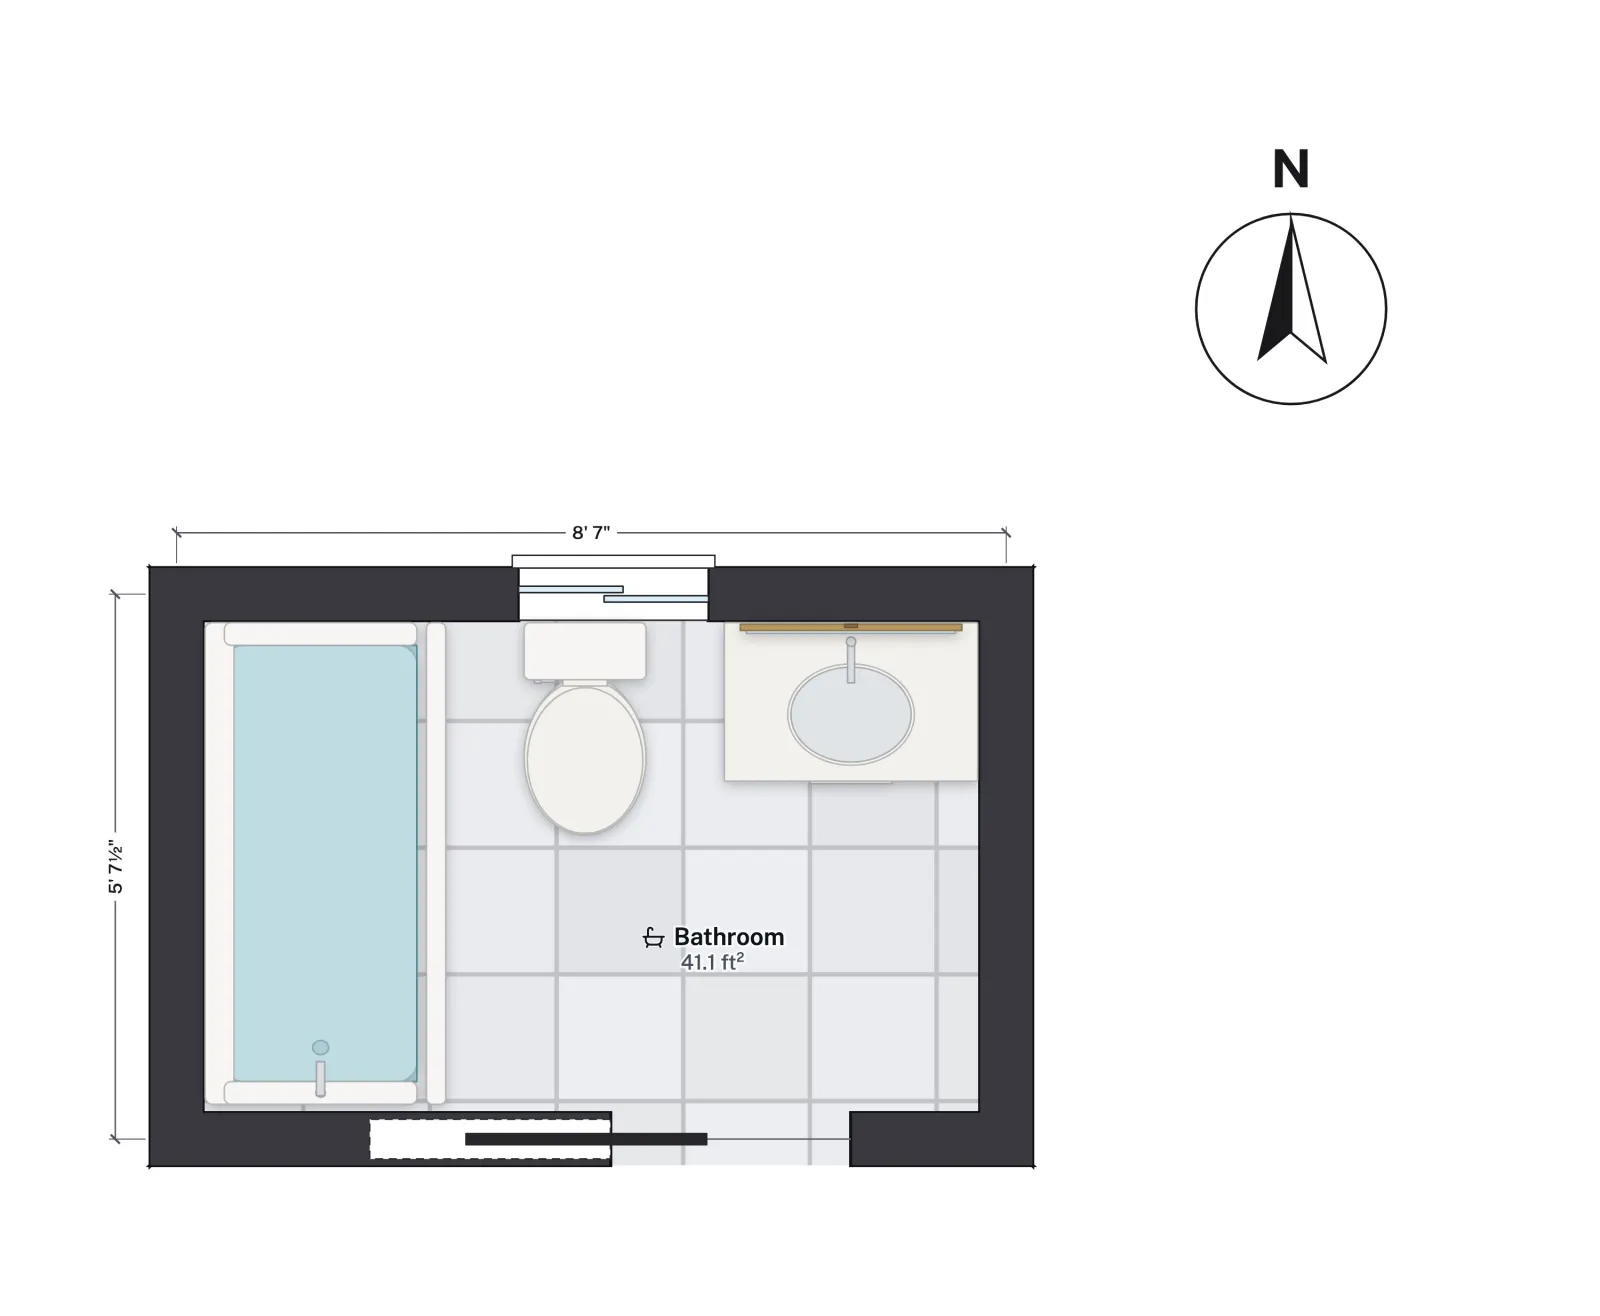
Tile and paint quantities
| Quantity | Where | What it gives |
|---|---|---|
| Floor tile area | Schedules and budget › Finishes | The area of each room with a tile floor, with the waste allowance (10% to start) added |
| Wall paint | Schedules and budget › Finishes | The room's wall area, net of doors and windows; take off any area you will tile |
| Baseboard | Schedules and budget › Finishes | Length round the room, net of doors |
| Tile count, boxes, grout, thinset | Tile calculator | Full and cut tiles for the floor, or for a wall or shower surround with Wall chosen |
| Cost | Unit rates and Budget in the same panel | Your price per ft² of tile and paint times the quantity; empty US-dollar rates show a marked placeholder |
The floor finish and wall paint show in 3D, so "Before" and "After" can differ in colour as well as layout. Set them in Finishes (Alt+5): Floor finish has Tile and Marble among its choices, and Wall paint a colour for the room's side of each wall. For the whole job, labour included, list the line items in the renovation budget calculator.
Limits
- No plumbing drawing. Drains, vents and supply lines are not drawn, sized or checked; your plumber decides what can move.
- Wall tile is not counted from the plan. The schedules count floor tile; work out a shower surround or a tiled wall in the tile calculator.
- Fixture clearances are not in the Review panel. Review checks door swings and blocked doorways. The toilet, basin and shower clearances are in the wider audit you run by asking FloorGen AI to "check the plan" (it needs a free account), or measure them yourself with the tape.
- No waterproofing, ventilation ducts or electrical details. Add an exhaust fan from the library to show where it goes; its ducting is not modelled.
- The checks are a design aid. Your inspector applies your local code.