Camera views and tours
Updated 2 min readWorks without an account
Save the 3D camera angles you like as views, jump back to them with one click, and play them in order as a tour. You can record the tour as a .webm video.
Save a camera view
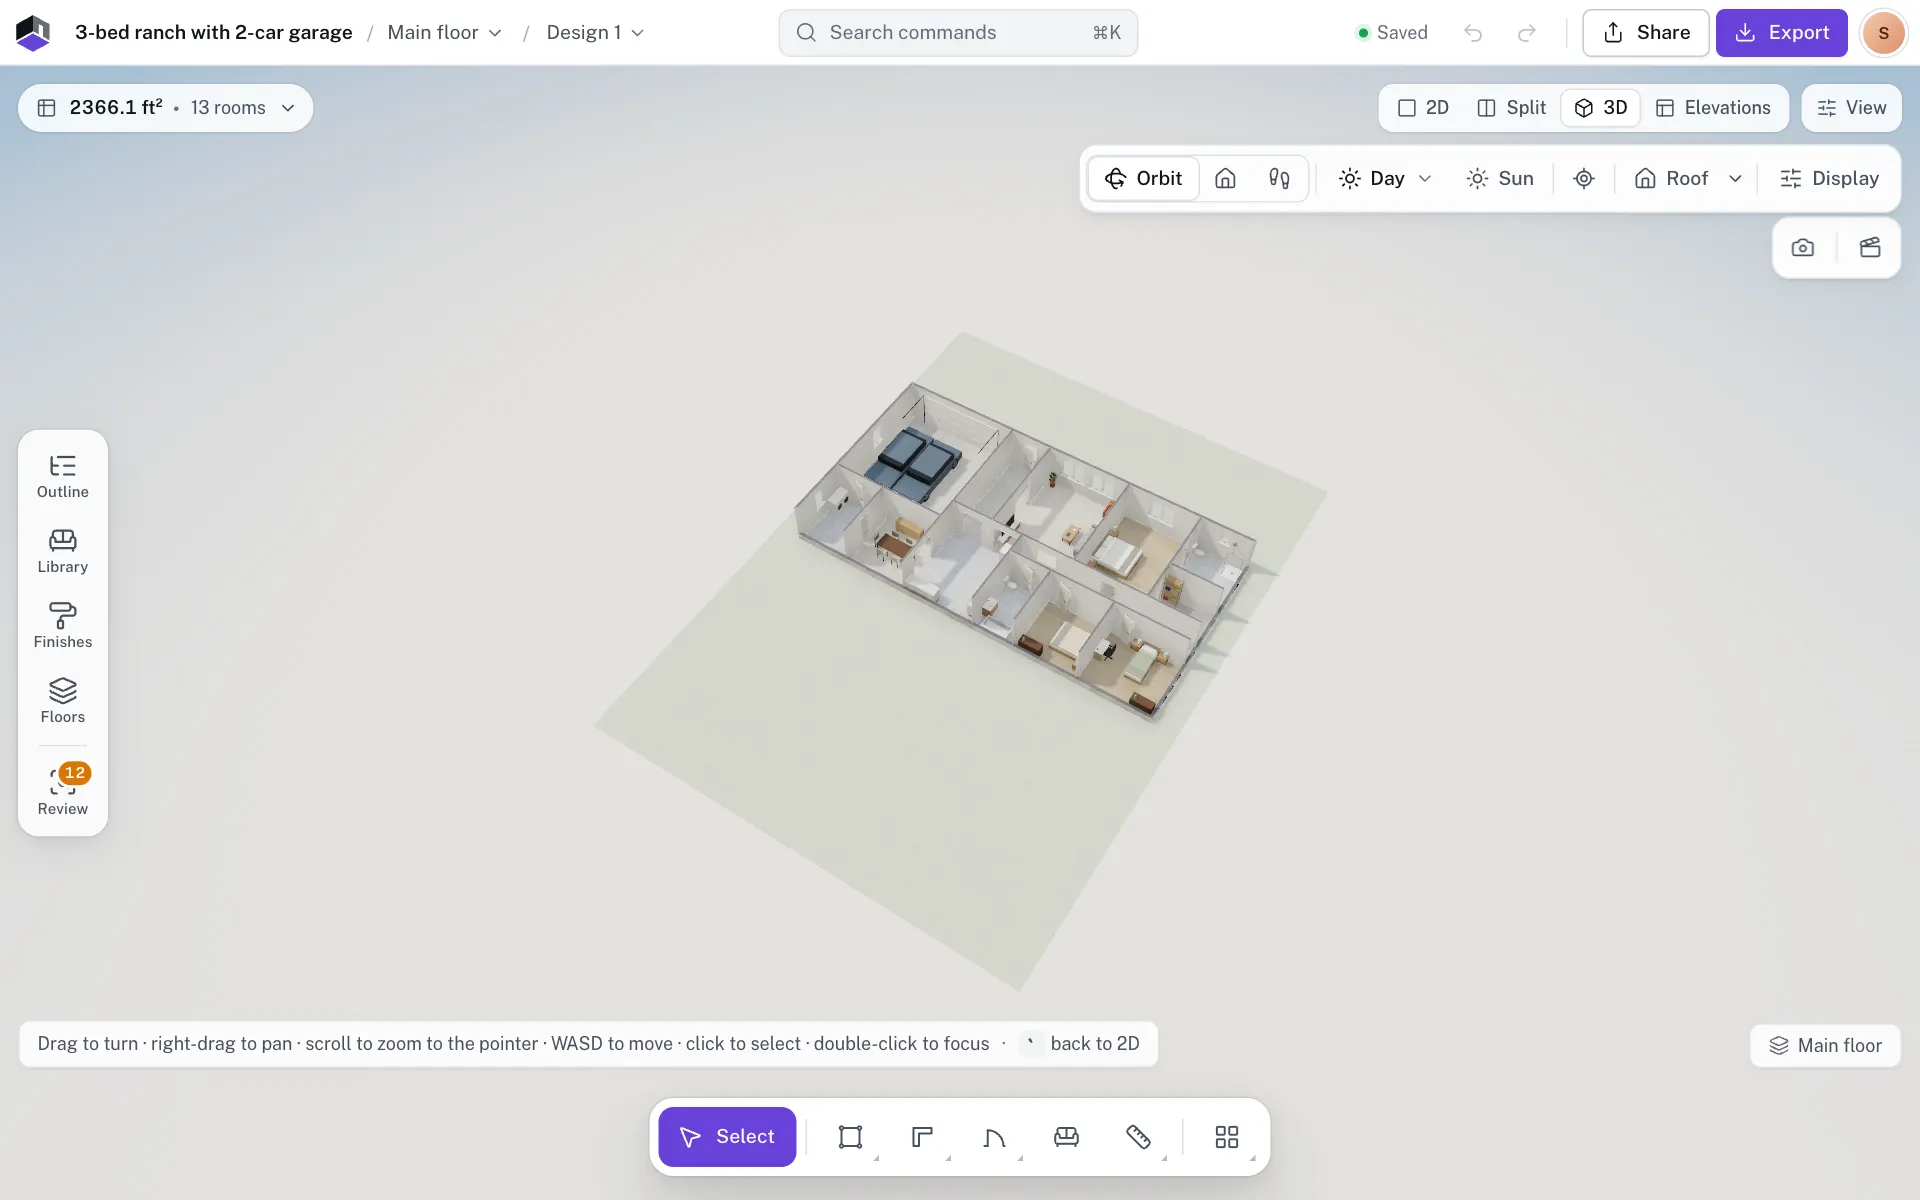
- Step 1: Open the 3D view
Press 3, or click 3D at the top right.
- Step 2: Frame the shot
Turn, pan and zoom until the view looks right. Pick the lighting first if it matters for the shot.
- Step 3: Save it
Click the camera button, Save this camera view, on the bar under the camera controls. The view appears beside it as a small picture.
Click a saved view to fly back to it. Views are saved with the project, up to 50 of them.
Rename, reorder or delete a view
Click the three dots beside a view for Rename…, Move earlier in tour, Move later in tour and Delete view. The tour plays the views in this order.
Play or record a tour
- Step 4: Save at least two views
The tour buttons stay off until there are two views to move between.
- Step 5: Play the tour
Click Play tour. The camera flies from view to view in order.
- Step 6: Or record it
Click Record tour as video (.webm). When the tour ends, the video downloads and FloorGen shows Tour video saved as .webm. When your plan’s videos carry a FloorGen watermark, the tour video carries the same one as the walkthrough video.
- Step 7: Stop early
Click Stop tour or Stop recording, or press Esc.
Questions
Why is there no record button?
In a browser that can’t record video, the record button isn’t shown and you can only play the tour. Try a recent Chrome, Edge or Firefox.
Does leaving the 3D view stop the tour?
Yes. Leaving the 3D view stops the tour, and a recording in progress is not saved.
Do other people see my saved views?
Yes. Views are saved in the project, so anyone who opens it sees them.