Elevations
Updated 5 min readWorks without an account
An elevation draws the outside of the building flat from one side, with the roof, every door and window, dimensions and level marks. FloorGen draws the north, east, south and west elevations for you, and you can add views of your own.
Open the elevations
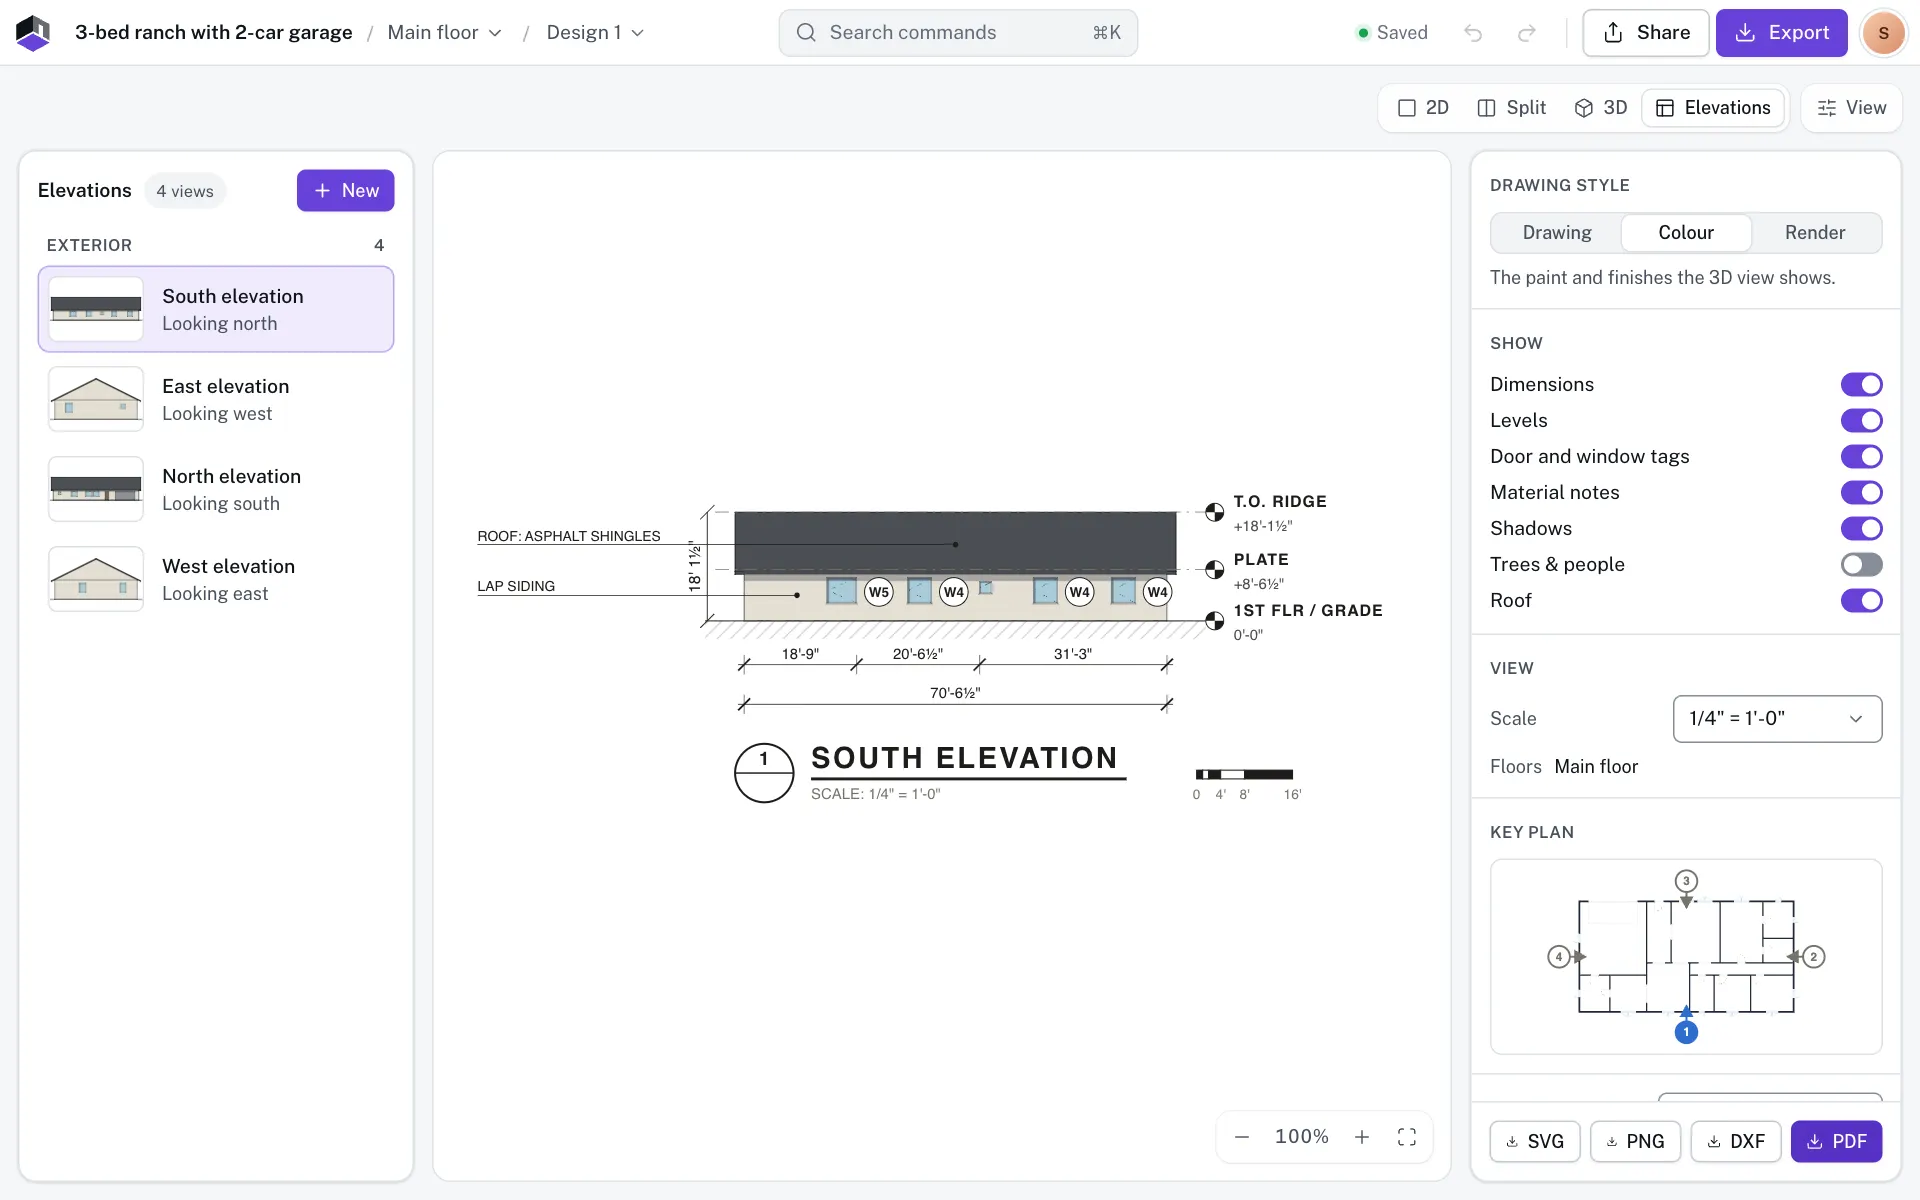
- Step 1: Switch to Elevations
Press 4, or click Elevations in the view switch at the top right. Press 2 to go back to the plan.
- Step 2: Pick a side
The list on the left has the four Exterior views and your Saved views. Each one says which way it is looking, such as Looking north.
- Step 3: Read the drawing
The drawing opens fitted on white paper. Scroll to zoom about the pointer, drag to pan, and hold ⇧ while you scroll to pan sideways. On a touch screen, pinch to zoom.
- Step 4: Add a view of your own
Click New for a bay or an angled façade. Pick a Camera (Front, Right, Rear or Left) or type the way the Façade faces (° from north), check the Live preview, then click Create.
A project holds up to 12 saved views. Each new view is one undo step.
The buttons at the bottom right of the drawing are Zoom out (⌘-), Zoom in (⌘+) and Zoom to fit (⌘0), with the zoom level between them. The zoom goes back to fit when you open another view. Lengths show in the project’s units.
Change how it looks
| Style | What it shows |
|---|---|
| Drawing | Black lines on white, as for a permit set. |
| Colour | The paint and finishes the 3D view shows. The default. |
| Render | Colour with soft sun shadows, trees and people. |
Pick the style under Drawing style in the settings on the right. In Split, the elevation pane has the same switch in its header. A saved view keeps Drawing or Colour in the project. Render on a saved view, and the one style the four compass views share, last until the page reloads. Picking a style sets Material notes, Shadows and Trees & people to that style’s own; change a switch afterwards to override it.
| Field | What it does | Default |
|---|---|---|
| Dimensions | Dimension lines under the façade, the overall height and the roof pitch. | On |
| Levels | Level marks for the site, each floor, the eaves and the ridge, or the top of a flat roof’s parapet. | On |
| Door and window tags | The tag of each door and window. | On |
| Material notes | Notes with leaders that name the finishes. | On, off in Render |
| Shadows | Soft sun shadows. | On, off in Drawing |
| Trees & people | Trees and people for scale. | On in Render only |
| Roof | The roof from Roof settings in the 3D view. | On |
| Scale | The paper scale, printed under the title. | 1/4″ = 1′-0″ |
The switches sit under Show and the scale under View. The scales are 1/8″, 3/16″, 1/4″, 3/8″ and 1/2″ = 1′-0″, 1:100 and 1:50. Under the scale, Floors lists the floors the drawing shows. Key plan is a small plan of the open floor with every view’s marker, the open view highlighted.
Rename, turn or delete a saved view
Open a saved view. Under the key plan, type a new Name, or change Façade faces (° from north), from 0 to 359.9°. Each change is one undo step. Delete removes the view, and the note that follows has Undo. The four compass views show Follows the north arrow: they can’t be renamed or deleted.
Change a door or window
Click a door or window in the drawing, or pick it from the Door or window list. A card opens over the drawing with its tag and floor. Each change is one undo step and shows on the plan and in 3D. Show in 3D and Show on plan take you to it.
| Field | What it does | Range |
|---|---|---|
| Width | How wide the opening is. | 10 to 1000 cm |
| Height | From the sill to the head. | 10 to 1000 cm |
| Sill | From the floor to the bottom of the opening. | 0 to 1000 cm |
| Head | From the floor to the top. A new head changes the height and keeps the sill. | 10 to 1000 cm |
When the wall has no room for the new size, the change is refused with Not enough room on this wall for that. In Split, a door or window you select on the plan is highlighted in the elevation. For how sills, heads and storey heights relate, see Heights and levels.
Façade notes
Façade notes point out windows whose heads or sills don’t line up, a window too close to a corner, and an upper window that sits off the one below. When everything lines up it reads No façade notes: heads and sills line up.
From the plan
- Each view has a numbered marker on the plan. Hover over it for a preview and click Open.
- Right-click an outside wall and choose Elevation of this side to open a view square to that wall.
- In Split, click Elevation at the top left of the right pane, or set Right pane to Elevation in View options, to see the plan beside the open elevation.
- The plan summary lists every view as a thumbnail under Elevations. Add view adds a view facing 45°, between the compass views; it is greyed out at 12 saved views.
Questions
Why is the drawing empty?
An elevation needs closed rooms to draw. Close the outline of the rooms, or pick another view.
Which way is north?
North, east, south and west follow the plan’s north arrow. Turn it under Sun in the 3D view, or move the north arrow on the plan.
Does the roof match the 3D view?
Yes. The roof’s shape, pitch, overhang and finish are saved with the project, so both draw the same roof. The elevations show it from the start; the 3D view shows it once you click Roof.
Are elevations in the print set?
Yes. With Building summary on, as it is to start, the print set adds a page for each elevation.