Trace an image or PDF
Updated 4 min readWorks without an account
Put a photo, scan or PDF page of an existing plan under your drawing, set its scale from one length you know, then draw walls over it or let FloorGen detect them.
Trace a plan
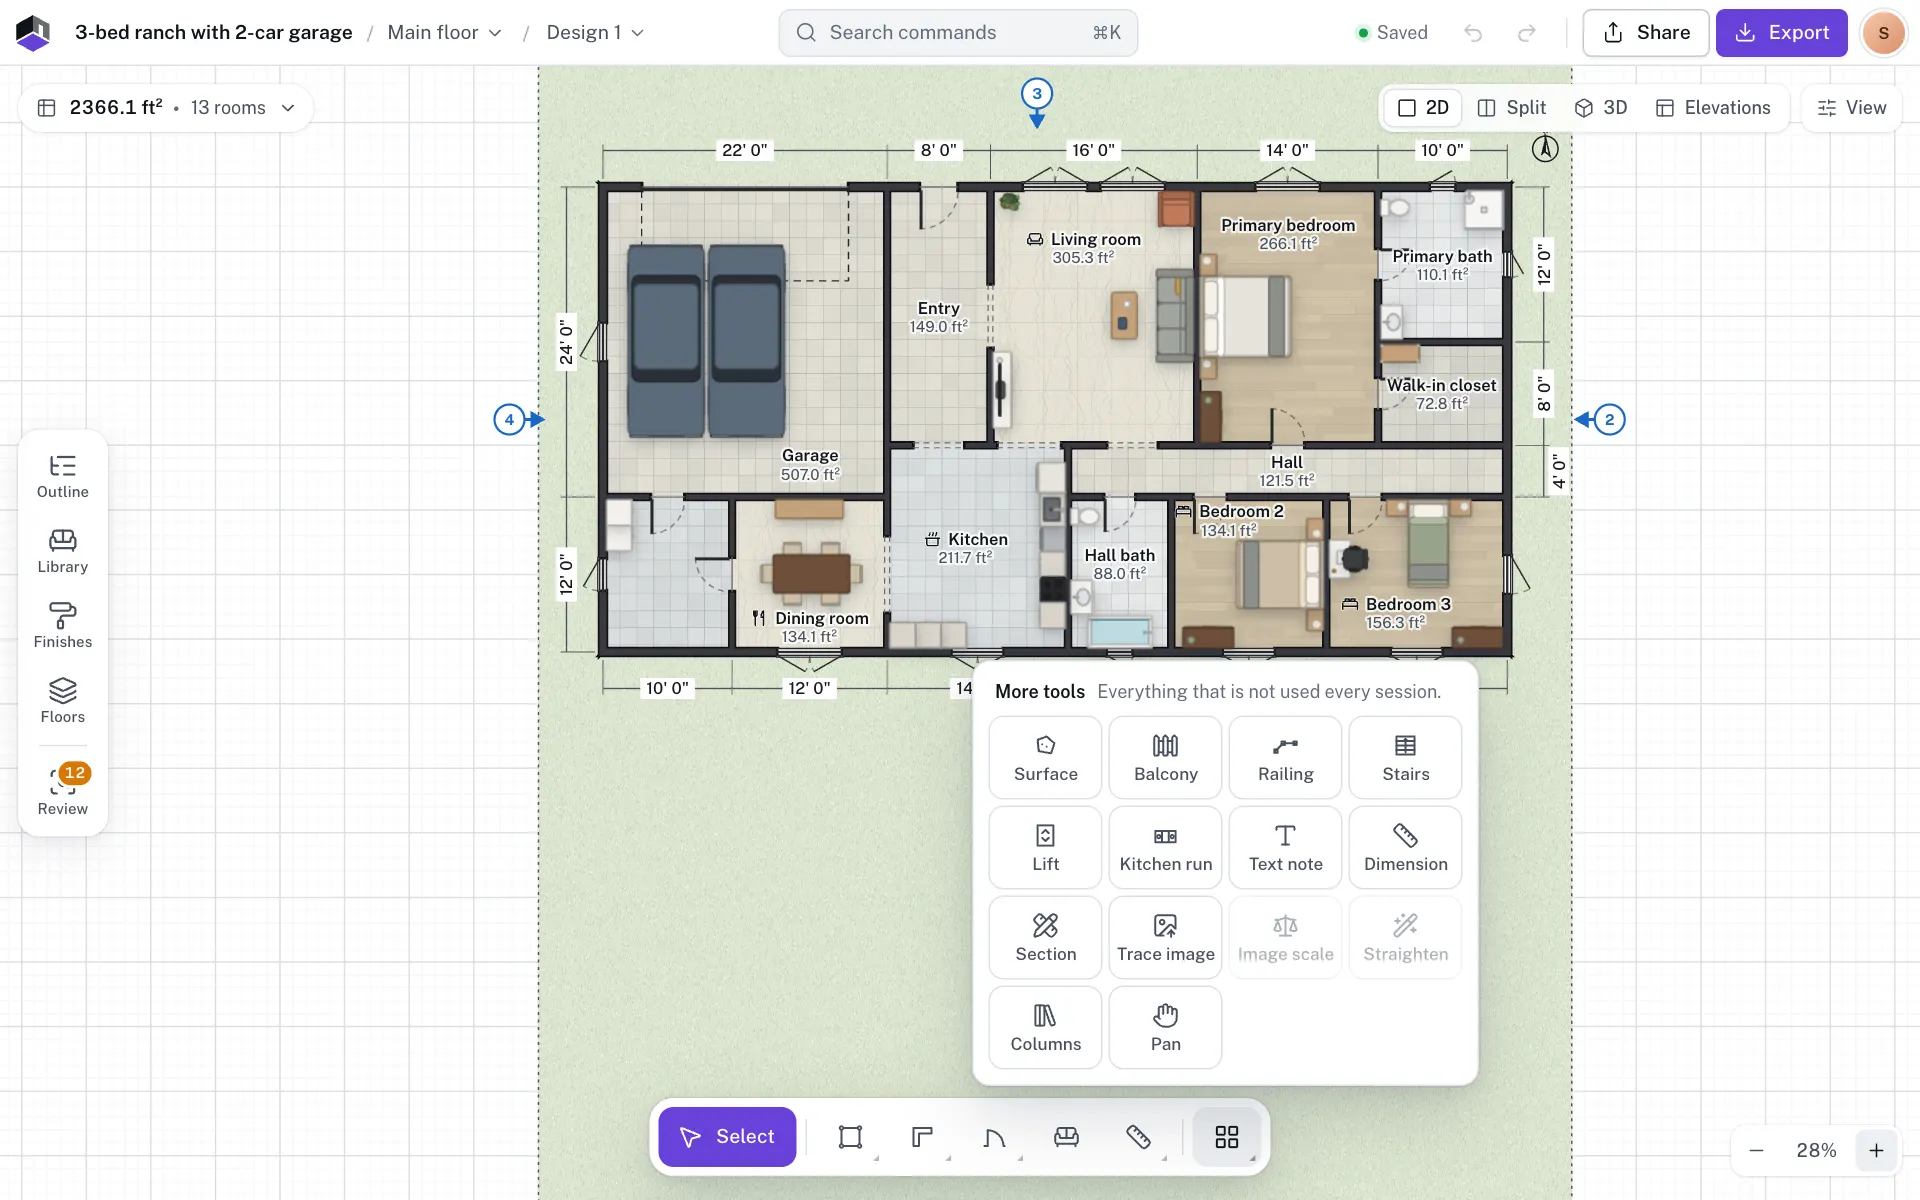
- Step 1: Open More tools
Click More tools in the tool dock. You can also press I, or use the Trace an image card on an empty plan.
- Step 2: Pick Trace image
Click Trace image and choose a PNG, JPG, WebP or GIF image, or a PDF.
- Step 3: Choose a PDF page
For a PDF, Choose a page to trace shows the first 60 pages as thumbnails. A PDF with more than one page also has Page number, which takes any page, including those past 60. Click Use page with its number, or Other file… to pick again.
- Step 4: Mark a known length
The image lands about 10 m wide at 50% opacity, the view fits it, and the Set image scale tool starts. Click both ends of a length you know, such as a wall with its size printed beside it.
- Step 5: Type the real length
The Set image scale dialog says how long the marked line measures now. Type its real length in Real length, for example
4.5mor14' 9", and press ↵ or click Apply scale. The image resizes around the first point. - Step 6: Draw over it
Draw walls and rooms on top. Turn on Locked in the image’s properties so it can’t move by accident.
The dialog’s switch, Set scale or Straighten, lets you use the same marked line to straighten the image instead. K, or More tools › Image scale, marks a new line at any time. Both need an image first: without one, K says Add a traced image first (I).
Line the image up
- Click the image to select it. Its card is Traced image; drag the image to move it into place, then turn on Locked in All properties (↵). A locked image ignores clicks on the plan, so it can’t be dragged; its settings stay in the Plan summary (⌥3).
- Each design of a floor holds one traced image. Picking a new image (Trace image or I) replaces the one in the open design.
- After Re-attach…, the image keeps its place, width, opacity, lock and rotation.
Straighten a crooked scan
Select the image and click Straighten (or choose Straighten in More tools). Click two points along a wall edge or a printed line that should be straight, then click Make horizontal or Make vertical. The dialog tells you how far the line leans. Rotation and Rotate 90° turn the image by hand.
Detect walls
- Step 7: Set the scale first
Wall detection reads thick dark lines at the image’s scale, so set the scale (and straighten a crooked scan) before you start.
- Step 8: Click Detect walls
Select the image and click Detect walls in its properties. The walls it finds show as dashed ghosts.
- Step 9: Keep the ones you want
Click a dashed wall to remove it. The bar at the bottom counts the walls found; click Add all to keep them, or Discard.
The traced image’s properties
| Setting | What it does | Range | Default |
|---|---|---|---|
| Opacity | How strongly the image shows under the plan | 5% to 100%, in 5% steps | 50% |
| Visible | Shows or hides the image | On | |
| Locked | Stops it moving by accident | Off | |
| Rotation | Turns it about its middle | −180° to 180°, in 0.1° steps | 0° |
| Rotate 90° | Turns it a quarter turn about its middle | ||
| Straighten, Set scale | Start the two-point tools again | ||
| Detect walls | Proposes walls from the thick dark lines | ||
| Remove image | Takes the image off the plan |
On a phone or tablet
Open More tools › Trace image, then tap two points a known distance apart to set the scale, and draw over the image.
Questions
Can I trace every floor from one PDF?
Yes. Each floor has its own traced image, one per design. Open the next floor and press I: FloorGen offers another page of the PDF you used last.
Can FloorGen read the doors and room names too?
Yes, with Smart import: it reads them from a PDF’s text or a DXF, and in beta from a photo or scan. See Import a plan.
Why did Detect walls find nothing?
Walls are read from thick dark lines. Set the scale first, straighten a crooked scan, and try a sharper image.
Which length should I use for the scale?
The longest length you know for sure, such as an outside wall. A long line gives a more accurate scale than a short one.